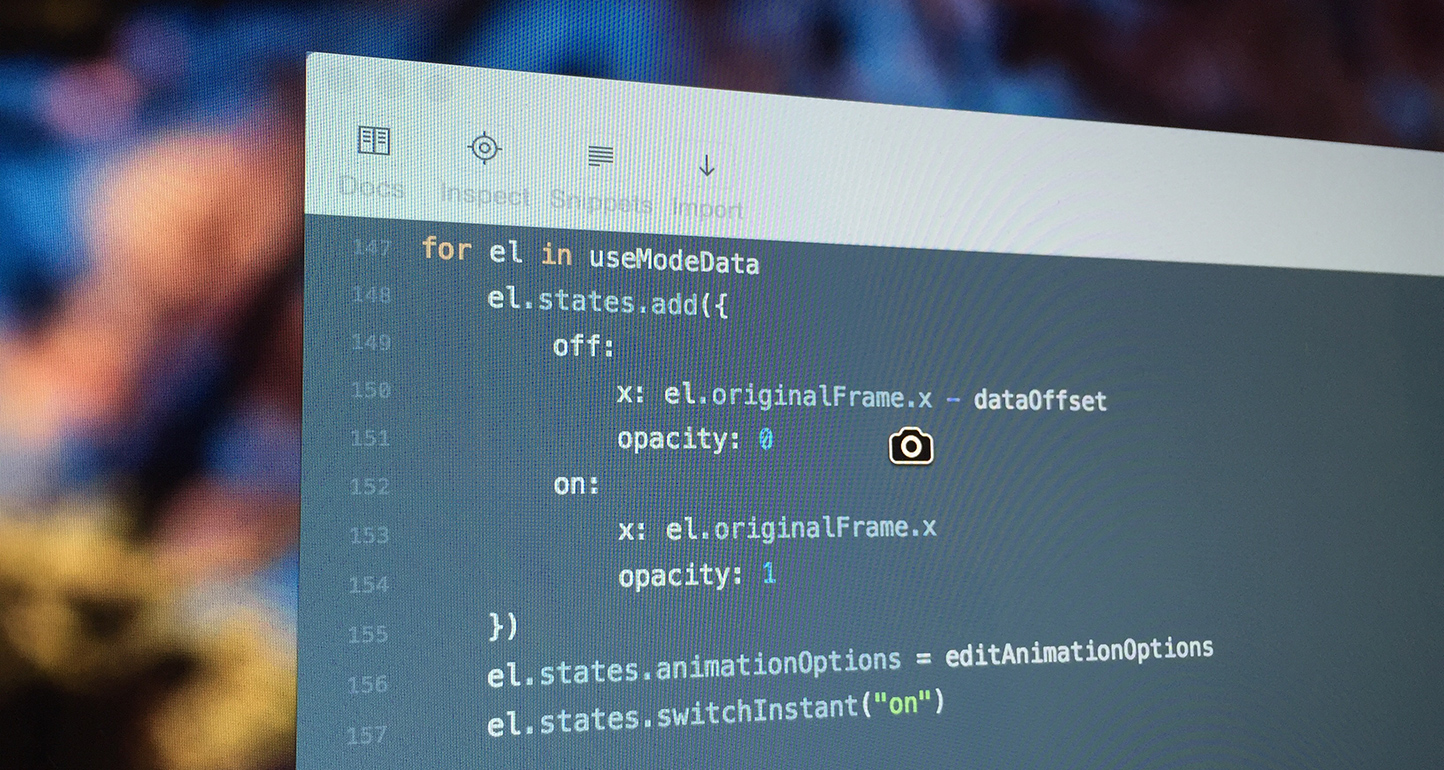
The Screenshot Spectacular
If you’re a designer, you probably take a million screenshots a day to share with co-workers like I do. Even if you’re not a designer, you’re likely to need to share your screen or a section of your screen from time to time. Nearly everyone knows about OS X’s built-in support for screenshots, but most people don’t know just how robust it is.
There are two types of screenshots: whole display (or displays) and a selection or UI element (window, menu, etc). By default, these are mapped to the numbers 3 (whole display) and 4 (selection) in shortcut key combinations.
Screenshots will appear as PNG files on your Desktop. This can be configured (see below), or you can skip file creation by adding ⌃ to any shortcut combination—this will copy the screenshot to your clipboard instead, allowing you to paste the image directly into apps like Preview, Sketch or Adobe Photoshop.
In addition to the shortcuts listed below, OS X includes an app called Grab (find it in Applications/Utilities) which, while outdated, contains a few other tools like a 10-second timer and the ability to include your cursor in the screenshot.
Whole Screen
To take a screenshot of the entire display (and, if you have multiple displays, this will take a shot of each one): ⌘⇧3
Selections and UI Elements
To take a screenshot of a selected area, first press ⌘⇧4 and then drag a selection. But it gets better! During the selection, you can press and hold ⇧ to lock the selection area in a certain dimension (pressing ⇧ and dragging left/right will lock the height of the box while up/down will lock the width of the box). You can press ⌥ to scale the box from the center instead of an edge, and you can combine both ⇧ and ⌥ to grow the box from the center while locking it by a dimension. We’re not done yet! On top of all of this, you can also hold down the spacebar and move the selection area freely around the screen. Whew. There’re a lot of options while using ⌘⇧4’s selection area, so let’s review in a tidy list:
- ⇧: Lock selection area width or height
- ⌥: Scale selection area from center
- ⇧⌥: Scale selection area from center, locked by width or height
- Hold down spacebar: Free-move selection area
Finally, if you want to take a screenshot of a specific window or menu, you can use the selection shortcut (⌘⇧4) but then tap the spacebar once. This will change your cursor to a camera and whatever you hover over will be highlighted (windows, the menu bar, the dock). Clicking your mouse will take a screenshot of just that item:

If you want to go back to selection mode, just tap spacebar once again. Just note: When capturing a window with this screenshot mode, OS X will include the window’s shadow. If you want to disable this for good, you’ll need to run two Terminal commands:
defaults write com.apple.screencapture disable-shadow -bool true
killall SystemUIServer
If you want to disable shadows for only the current screenshot, hold ⌥ before clicking a window. (Thanks, Matthew Price!)
At any time while taking a selection- or UI-element-based screenshot, you can press ⎋ to cancel.
Remember, using ⌃⌘⇧4 supports everything above, but stores the screenshot in your Clipboard instead of creating a file.
Different Shortcuts
Don’t like ⌘⇧3? You can change the keyboard shortcuts for screenshots in System Preferences → Keyboard → Shortcuts. Just click “Screen Shots” (sic) in the source list and change anything you wish.
Put ‘Em Somewhere Else
As stated, by default, screenshots save to your Desktop. But if you’re like me and you take a lot of screenshots every day, this gets unwieldy pretty quickly. Thankfully, you can easily change the location OS X saves screenshots to with this handy Terminal command:
defaults write com.apple.screencapture location ~/Pictures/Screenshots/
killall SystemUIServer
It’s up to you to make the ~/Pictures/Screenshots/ path whatever you want it to be. To make this easier, you can also just type a space after location and then drag a folder from Finder into Terminal to automatically add the path for that folder so you don’t have to type it out.
You can also change the type of files saved or the filename prefix using Terminal commands.
There are a lot of utilities out there for doing something with your screenshots after you take them, but we’ll dive into those in the future. For now, hopefully these screenshot tips will make you more productive.
 the-bataa liked this
 mrboot liked this
kailaria1001 liked this
jcg1013b liked this
tarpo liked this
filmgirl reblogged this from usefulmac and added:
So, so good.
 realtoramazemarc liked this
 mcanski reblogged this from usefulmac
itstartshear liked this
derfelgadarn liked this
jasonsanders liked this
hey-ya11 liked this
 kalaajkal liked this
 jose602 liked this
 gregraven liked this
 mattherndon liked this
esthery reblogged this from usefulmac and added:
I LOVE the Cmd+Shift+4 then Space bar trick!
esthery liked this
ericalba liked this
michaelthegeek reblogged this from usefulmac
michaelthegeek liked this
dennis1088 liked this
filmgirl liked this
iamamro liked this
madmadmady liked this
 blech liked this
 idlerambling reblogged this from usefulmac
idlerambling liked this
 g3niu5 liked this
 girma liked this
 schwerd liked this
 iheartobjc liked this
apaunchev liked this
brbread liked this
spxds reblogged this from usefulmac
rlewyckyj liked this
dellinsd liked this
vutur liked this
 tootsropa liked this
 vinyl-o-matic liked this
milwaukeestat liked this
usefulmac posted this
- Show more notes
